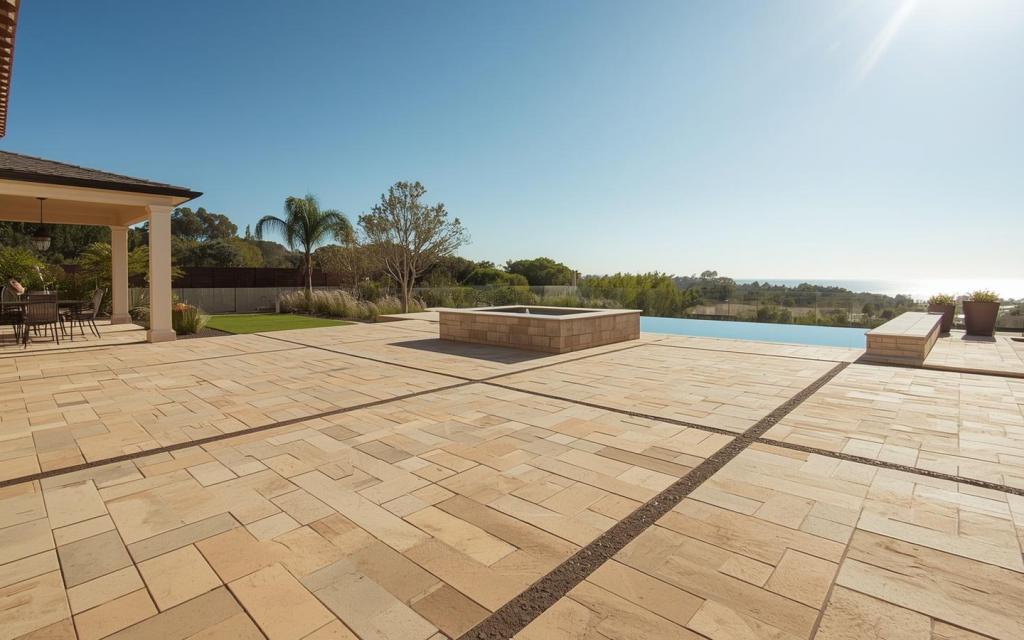
A Complete Guide to Outdoor Kitchen Pricing in San Diego

If you are dreaming of the perfect outdoor space where you can grill, host friends, or just relax under the San Diego sun, you are not alone. In fact, many homeowners across neighborhoods like La Jolla, Carmel Valley, and Point Loma are transforming backyards into stunning extensions of their homes. One question that always comes up? Outdoor kitchen pricing. Whether you are just starting to plan or ready to hire a builder, knowing the cost breakdown can help you make smart decisions. In this guide, we will walk you through everything that goes into outdoor kitchen pricing in San Diego, from materials and layout to permits and local labor rates. What’s the Average Outdoor Kitchen Cost in San Diego? So, let us start with the big question: how much does an outdoor kitchen cost in San Diego? On average, most homeowners spend between $12,000 and $25,000 for a mid-range outdoor kitchen. However, smaller setups can start around $6,000, while high-end, full outdoor living spaces can easily go beyond $50,000. What’s Included in That Price Range? Basic builds ($6,000–$10,000): Grill station, some counter space, maybe a sink Mid-range kitchens ($12,000–$25,000): Grill, countertops, fridge, storage, lighting, and plumbing Luxury outdoor kitchens ($30,000+): Custom design, premium appliances, built-in pizza ovens, bars, smart features, and full patio builds Keep in mind that outdoor kitchen installation cost depends not just on the appliances, but also on labor, permits, and existing infrastructure. Next, let us look at the key factors that affect the price. What Affects Outdoor Kitchen Pricing? Of course, not all outdoor kitchens are built the same, and neither are their price tags. From the size of your layout to the kind of grill you pick, even the smallest choices can still make a big difference in cost. Hence, knowing what drives the price can help you plan, avoid overspending, and get exactly what you want. So, let us take a look at what really impacts outdoor kitchen pricing in San Diego. 1. Size and Layout The bigger the kitchen, the higher the cost. A straight-line setup costs less than an L-shaped or U-shaped kitchen with multiple stations. 2. Materials Used Countertops, flooring, and framing all impact the price. For example: Stucco is budget-friendly Stone veneer looks amazing, but adds to the cost Granite or concrete countertops are durable but more expensive than tile 3. Appliances Adding just a grill costs much less than including a smoker, side burners, outdoor fridge, or pizza oven. Luxury appliances can significantly increase your backyard kitchen cost. 4. Utility Hookups Gas, water, and electric lines must be extended. The more utility work needed, the higher your outdoor kitchen installation cost. 5. Permits and Local Codes In areas like Encinitas or Chula Vista, permit requirements can vary. Always factor in permit fees and code-compliant construction. These factors all contribute to the final outdoor kitchen pricing, and this is indeed why working with a local pro helps you avoid surprises. Popular Outdoor Kitchen Styles in San Diego Neighborhoods Every part of San Diego has its own vibe, and so do the outdoor kitchens. North Park & South Park: Trendy, space-saving kitchens with minimalist designs La Jolla: High-end outdoor kitchens with ocean-view setups Clairemont: Practical, family-style layouts with plenty of storage and shade East County (like Santee or El Cajon): Rustic or Mediterranean-inspired designs Thus, choosing a design that fits your neighborhood and home style keeps your investment smart and your home value high. So, how do you plan your budget? How to Plan Your Outdoor Kitchen Budget Wisely Before you commit to anything, take time to map out your must-haves versus nice-to-haves. Think about how you will actually use the space. Here’s how to budget in a way that keeps you in control and avoids mid-project surprises at the same time. Step 1: Start with a Base Budget Decide what you are comfortable spending overall, then break it down into: Appliances (40%) Construction + materials (30%) Labor and permits (20%) Contingency fund (10%) Step 2: Make a Must-Have List Focus on what you will actually use: Grill or smoker? Refrigerator or ice chest? Bar seating or prep space? Step 3: Talk to Outdoor Kitchen Builders A licensed contractor like IO Builders Group can help walk you through local costs, layouts, and material options. You will get a more accurate estimate customized to your backyard and goals. With the right plan, you can get the outdoor kitchen you want without blowing the budget. Should You Go Custom or Modular? This question comes up all the time, and it makes sense. Custom builds offer full creative control, while modular options save time and money. But which one fits your needs best? Let us walk through the differences so you can make the smart choice for your San Diego home. Modular Outdoor Kitchens Prefab units or kits Lower cost Faster to install Less flexibility in layout and materials Custom Outdoor Kitchens Designed to fit your yard, style, and needs Higher cost More options for materials, appliances, and finishes Longer build time If your yard has tricky angles or you want something that blends perfectly with your home, a custom build is often worth the investment. Choosing the Right Outdoor Kitchen Builders in San Diego Not all contractors are created equal. A solid build that lasts through San Diego’s salty air, heat, and outdoor conditions requires experience and local knowledge. When comparing outdoor kitchen builders, ask: Are they licensed and insured in California? Do they have experience with full outdoor living projects? Can they help with permits and utility work? Do they offer design services? At IO Builders Group, we specialize in outdoor kitchen installation across San Diego County, from Carlsbad to Chula Vista. Our team helps you plan, design, and build a space that’s beautiful, durable, and ready for weekend grilling or family gatherings. Outdoor Kitchen Builders Near Me: Build Smart with IO Builders Are you ready to upgrade your backyard? Adding an outdoor kitchen is indeed one of the best ways
Finding the Best Home Addition Contractors in San Diego
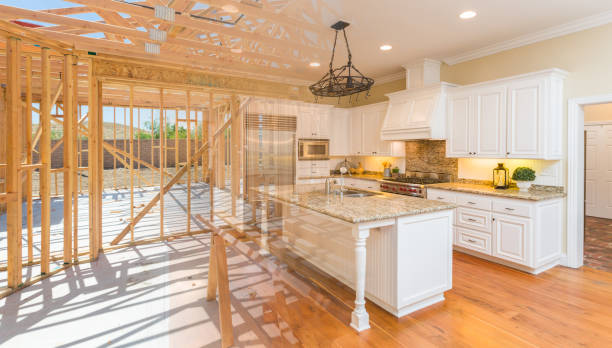
Adding space to your San Diego home can significantly enhance your lifestyle. Whether you dream of a larger kitchen, a spacious master suite, or a home office, a well-executed home addition can transform your living space. However, finding the right contractors is crucial for a successful project. Here’s what to consider when searching for “home addition contractors San Diego”: 1. Experience and Expertise: Look for contractors specializing in home additions. Check for relevant licenses and insurance. Read online reviews. Consider IO Builders Group. 2. Project Planning and Communication: Inquire about their design and planning process. Assess their communication style. Ask about their project management approach. 3. Quality of Workmanship: Request to see examples of their previous work. Inquire about their use of high-quality materials. Ask about their subcontractors. 4. Budget and Timeline: Obtain detailed estimates from multiple contractors. Discuss potential budget variations and how they will be handled. Inquire about their estimated project timeline and their ability to adhere to it. 5. Client Testimonials: Read online reviews and testimonials from past clients. Request referrals from friends, family, or neighbors who have recently completed home additions. Finding the right home addition contractors in San Diego is crucial for a successful project. By carefully considering the factors above and conducting thorough research, you can find a qualified team to bring your vision to life. Consider contacting IO Builders Group to discuss your home addition project and experience their commitment to quality and customer satisfaction. Disclaimer: This information is for general guidance only and should not be considered professional advice. Note: When searching for “home addition contractors San Diego,” you can also use relevant keywords like “home additions San Diego,” “room additions San Diego,” “residential additions San Diego,” or “home remodeling contractors San Diego.” I hope this blog post helps you in your search for the best home addition contractors in San Diego!
A Deeper Dive into Roofing Underlayment: Felt vs. Synthetic
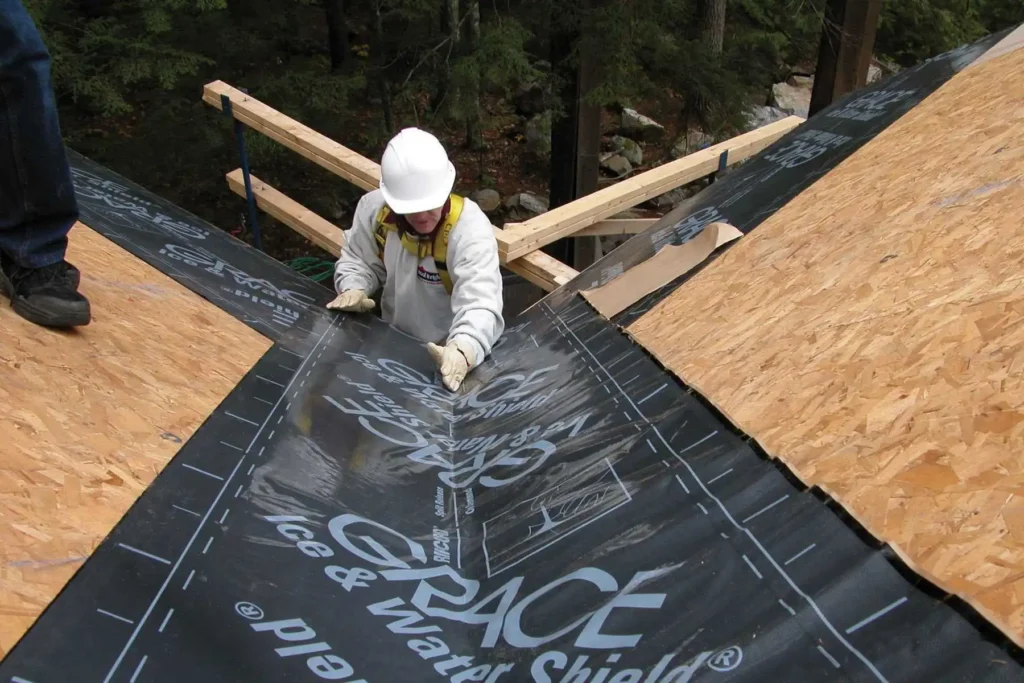
A Deeper Dive into Roofing Underlayment: Felt vs. Synthetic The Unsung Hero of Your Roof While shingles and tiles often steal the spotlight, the underlayment plays a crucial role in your roof’s protection. This hidden layer, installed beneath the visible roofing material, safeguards your home from water damage, wind-driven rain, and other weather-related issues. It’s a critical component that often goes unnoticed but significantly impacts your roof’s longevity and performance. Understanding the Options: Felt vs. Synthetic Two primary types of roofing underlayment dominate the market: felt and synthetic. Felt Underlayment: A Traditional Choice Felt underlayment, a traditional option, has been used for decades. It’s typically made from organic or fiberglass mat saturated with asphalt. Pros: Cost-effective: Felt underlayment is generally more budget-friendly compared to synthetic options. Cons: Susceptibility to Water Damage: Felt can absorb water, especially when exposed to rain or moisture for extended periods. This can lead to rotting, tearing, and reduced effectiveness. Vulnerability to Tearing: Felt is prone to tearing, particularly during installation or in high-wind conditions. Weight: Felt underlayment can be heavier than synthetic options, making it more difficult to install, especially on steep roofs. Limited Warranty Coverage: Some roofing manufacturers may limit warranty coverage if felt underlayment is used. Synthetic Underlayment: A Modern Solution Synthetic underlayment, a more recent innovation, is made from durable, water-resistant materials like polypropylene or polyethylene. Pros: Superior Water Resistance: Synthetic underlayment offers excellent resistance to water penetration, protecting your home from moisture damage. Durability: It’s more resistant to tearing, punctures, and UV degradation, ensuring long-lasting performance. Lightweight: Synthetic underlayment is typically lighter than felt, making installation easier and faster. Increased Roof Life: By providing superior protection, synthetic underlayment can contribute to a longer roof lifespan. Improved Worker Safety: Many synthetic underlayments have slip-resistant surfaces, enhancing safety during installation. Cons: Cost: Many synthetics are competitively priced, but when compared to felt, the main drawback of synthetic roofing underlayment is the cost. The upfront investment in higher quality roofing materials, however, could save you money down the road. You can’t put a price on the peace of mind knowing that your roof is sufficiently protected from moisture. Key Factors to Consider When Choosing Underlayment Climate: In regions with heavy rainfall or harsh weather conditions, a synthetic underlayment can provide superior protection. Roof Pitch: Steeper roofs may benefit from a more durable underlayment like synthetic. Roofing Material: The type of roofing material you choose can also influence the best underlayment option. Budget: While synthetic underlayment may have a higher initial cost, it can offer long-term savings due to its durability and resistance to damage. Local Building Codes: Check with local building codes to ensure compliance with specific requirements and recommendations. The Role of a Qualified Roofing Contractor A skilled roofing contractor can assess your specific needs and recommend the most suitable underlayment for your project. They can also provide expert installation to ensure optimal performance and longevity. Conclusion While the underlayment may be hidden from view, it plays a critical role in your roof’s overall performance. By understanding the differences between felt and synthetic underlayment, you can make an informed decision that will protect your home for years to come. Remember: A well-installed underlayment, combined with high-quality roofing materials and professional installation, is the key to a durable and reliable roof. Let us help you with your project, call us at (858) 392-6767 or visit our website or click here for a free consultation!
Essential Home Upgrade Tips for San Diego Homeowners
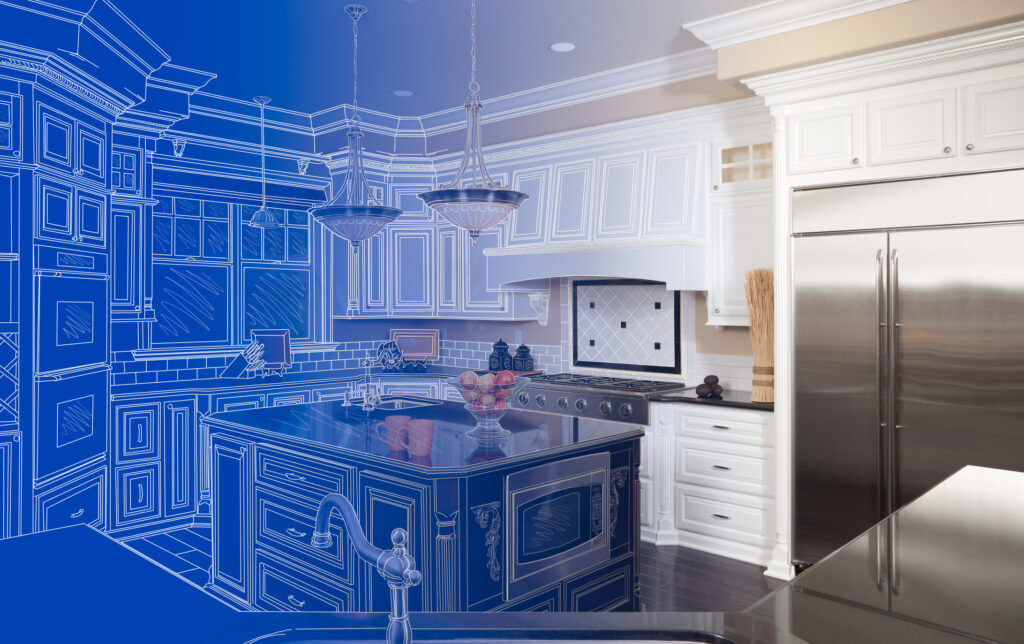
Essential Home Upgrade Tips for San Diego Homeowners As a San Diego homeowner, you’re fortunate to live in a beautiful climate. However, to truly enjoy your home year-round, it’s important to consider some essential home upgrades. Here are some tips to help you maximize your home’s potential: Energy-Efficient Upgrades Insulation: Proper insulation can significantly reduce energy costs and improve comfort. Consider upgrading your attic, walls, and floors with high-quality insulation materials. Energy-Efficient Windows: Replacing old, drafty windows with energy-efficient ones can help lower energy bills and improve indoor air quality. Sealing Air Leaks: Seal any air leaks around doors, windows, and ductwork to prevent energy loss and improve your home’s overall efficiency. Outdoor Living Spaces Landscaping: Invest in professional landscaping to enhance your property’s curb appeal and create a beautiful outdoor living space. Patio or Deck: Add a patio or deck to your backyard for outdoor dining, entertaining, and relaxation. Outdoor Kitchen: An outdoor kitchen can elevate your backyard experience, allowing you to cook and entertain outdoors. Pool or Spa: A pool or spa can be a great way to cool off and relax on hot San Diego days. Interior Upgrades Kitchen Remodel: A kitchen remodel can increase your home’s value and improve your daily living experience. Consider upgrading appliances, countertops, cabinets, and flooring. Bathroom Remodel: A bathroom remodel can transform your bathroom into a luxurious retreat. Upgrade your fixtures, tiles, and cabinetry to create a spa-like atmosphere. Smart Home Technology: Incorporate smart home technology to control your lighting, thermostat, and security system with ease. Roofing and Gutters Roof Inspection: Schedule regular roof inspections to identify and address potential issues before they become major problems. Roof Replacement: If your roof is aging or damaged, consider a replacement to protect your home from the elements. Gutter Cleaning and Maintenance: Clean your gutters regularly to prevent water damage and ensure proper drainage. By implementing these home upgrade tips, you can improve your home’s energy efficiency, comfort, and overall value. If you’re considering a major home improvement project, be sure to consult with a qualified contractor to ensure the work is done correctly. IO Builders Group can help you with all of your home improvement needs. Our team of experienced professionals is dedicated to providing top-quality workmanship and exceptional customer service. Contact us today to schedule a consultation. Call us at (858) 392-6767 or visit our website or click here for a free consultation or Schedule your project today! Happy Renovating!
Find the Best Home Improvement Contractor in San Diego

Find the Best Home Improvement Contractor in San Diego Your role as a homeowner is to select the most qualified contractors and professionals for your project Your vision for a transformed kitchen, a luxurious bathroom oasis, or a stunning deck extension dances in your head. But before the sledgehammers swing and the paintbrushes fly, a crucial first step awaits: finding the perfect San Diego home improvement contractor. This guide equips you with the knowledge and resources to navigate the San Diego contractor landscape with confidence. Why Hiring the Right Contractor Matters A skilled and reliable contractor is the cornerstone of any successful home improvement project. They translate your vision into reality, ensuring quality work, adherence to deadlines, and open communication throughout the process. Here’s why choosing the right contractor is paramount: Quality Workmanship: A reputable contractor possesses the expertise and experience to deliver high-quality craftsmanship that lasts. This translates to a beautiful and functional finished product that adds value to your home. Project Management: Managing a renovation involves juggling subcontractors, materials procurement, and staying on schedule. A skilled contractor keeps everything organized, ensuring a smooth and stress-free experience for you. Safety: Construction inherently carries safety risks. A qualified contractor prioritizes safety protocols and ensures all workers have the necessary training and equipment. Permits and Regulations: Navigating building permits and adhering to local regulations can be a maze. The right contractor handles all the necessary paperwork, saving you time and potential headaches. Qualities of a Top-Notch San Diego Contractor Now, let’s delve into the hallmarks of a San Diego contractor who will exceed your expectations. Licensing and Insurance: Licensing: In California, all contractors performing work exceeding $500 must hold a valid California State License Board (CSLB) license. Verify the contractor’s license number on the CSLB website (https://www.cslb.ca.gov/onlineservices/checklicenseII/checklicense.aspx) and ensure it’s active and matches the specific type of work you need. Insurance: The contractor should possess adequate general liability and workers’ compensation insurance. This protects you from financial liability in case of accidents or property damage during the project. Experience and Expertise: Years in Business: A contractor with a long track record of successful projects in San Diego signifies experience and a proven ability to deliver quality work. Project Portfolio: Requesting a portfolio allows you to visually assess the contractor’s past work and see if their style aligns with your vision. Look for projects similar to yours in terms of scope and complexity. Specialization: While some contractors offer general home improvement services, others specialize in specific areas like kitchens, bathrooms, or decks. Consider a specialist if your project demands a high degree of expertise in a particular field. Communication and References: Clear Communication: A good contractor actively listens to your needs, clearly explains the project plan, and consistently keeps you updated throughout the process. Positive References: Request and verify references from previous clients. Talking to past clients gives valuable insights into the contractor’s communication style, work ethic, and ability to meet deadlines. Getting Quotes and Making Your Choice Once you’ve identified a few potential contractors, it’s time to gather quotes. Here are some tips for this crucial step: Detailed Scope of Work: Create a detailed document outlining your project in clear terms. This helps ensure all contractors are providing bids for the same work. Multiple Quotes: Obtain quotes from at least three different contractors. This allows you to compare pricing, understand different approaches, and choose the best value for your budget. Don’t Just Chase the Lowest Price: While cost is important, the lowest quote isn’t always the best option. Prioritize experience, qualifications, and communication fit over a slightly lower price tag. Beyond the Basics: Additional Considerations While the above factors are essential, consider these additional elements for a well-rounded decision: Online Reviews: Read online reviews on platforms like Google Reviews, Yelp, and the Better Business Bureau (BBB). However, remember that online reviews can be subjective, so take them with a grain of salt. Professional Associations: Membership in reputable professional organizations, such as the National Association of the Remodeling Industry (NARI) or the San Diego Chapter of the California Building Industry Association (CBIA), can signify a commitment to quality and ethical practices. The Final Steps: Signing a Contract and Project Commencement Once you’ve chosen your ideal contractor, it’s time to solidify the agreement. Contract Review: A thorough contract review is crucial. Ensure all details are clearly outlined, including the scope of work, timeline, payment schedule, material specifications, warranty information, and termination clauses. Consult a lawyer if needed, especially for complex projects. Project Start: Prior to construction commencing, obtain a written confirmation from the contractor that all necessary permits have been secured. This protects you from potential delays or stop-work orders. Building a Positive Contractor Relationship A successful home improvement project hinges on clear and open communication between you and your contractor. Here are some tips to foster a positive working relationship: Regular Communication: Maintain regular communication with your contractor, asking questions and expressing any concerns promptly. Project Updates: Establish a preferred method and frequency for receiving project updates. This might be weekly email updates or brief on-site discussions at the end of each workday. Change Orders: As projects unfold, unforeseen circumstances may necessitate changes to the original plan. If any adjustments arise, discuss them thoroughly with your contractor and obtain a formal “change order” document outlining the agreed-upon modifications and cost adjustments before any work commences. Payment Schedule: Adhere to the agreed-upon payment schedule outlined in the contract. Timely payments demonstrate your commitment to the project and maintain a positive working relationship with the contractor. Enjoying Your Transformed Space With a well-chosen contractor by your side and clear communication throughout the process, your home improvement project should culminate in a beautifully transformed space that exceeds your expectations. Take time to appreciate the craftsmanship and functionality of your newly renovated kitchen, bathroom oasis, or deck extension. Bonus Tip: Maintaining Your Investment Once the project is complete, proper maintenance is crucial to ensure your home improvement investment endures. Discuss maintenance routines with your
Creative Solutions to Transform Your Sloping Landscape
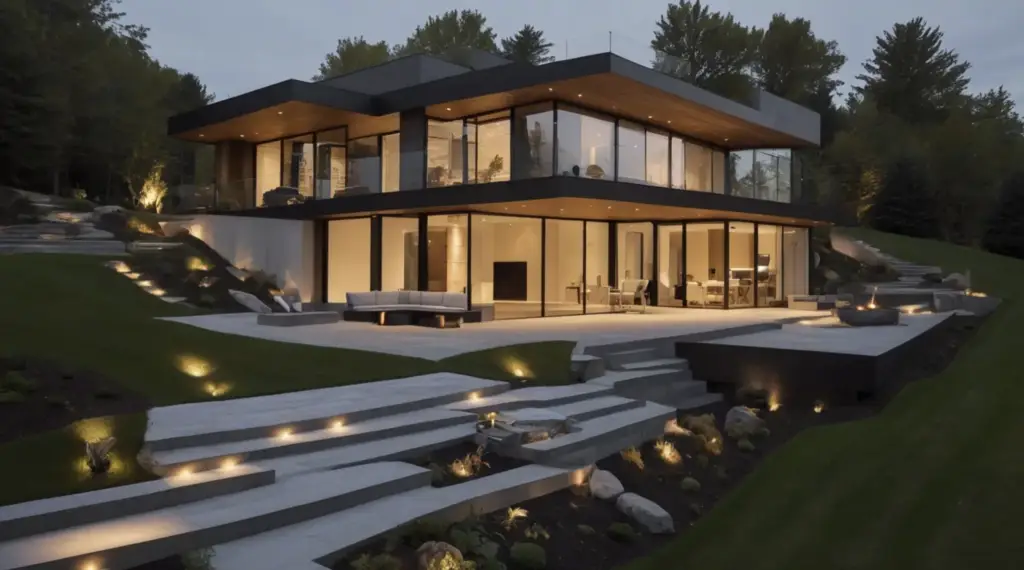
Creative Solutions to Transform Your Sloping Landscape Does your backyard boast a dramatic slope that seems more like a challenging obstacle than a usable space? Don’t despair! Slopes, while presenting unique challenges, can be transformed into stunning and functional outdoor havens with a little creativity and construction expertise. This blog post dives deep into the world of slope solutions, exploring various construction methods and design ideas to help you turn your sloping terrain into a beautiful and enjoyable part of your property. 1. Understanding Your Slope: Assessment and Considerations Before embarking on any project, a thorough understanding of your slope’s characteristics is crucial. Here’s what you need to consider: Slope Grade: Measure the angle of the slope. Gentle slopes (less than 15 degrees) offer more flexibility, while steeper slopes require more substantial solutions. Soil Composition: Knowing your soil type will influence the construction methods and retaining wall materials best suited for your project. Sandy soils tend to drain well, while clay soils require additional drainage solutions. Drainage Patterns: Identify existing water flow patterns and potential drainage issues. Proper drainage is crucial to prevent erosion and ensure the stability of your slope. Local Regulations: Check with your local building department to understand any permitting requirements or limitations regarding slope modifications. 2. Retaining Walls: The Pillars of Stability Retaining walls are essential for creating usable space on slopes by holding back soil and preventing erosion. They come in various materials and styles, each with its own advantages: Segmental Retaining Walls: These versatile walls are constructed from precast concrete blocks that offer a clean and modern aesthetic. They are relatively easy to install and come in a range of colors and textures. Natural Stone Retaining Walls: For a rustic and timeless look, natural stone retaining walls add a touch of elegance to your landscape. They require skilled craftsmanship for installation, but offer unmatched durability and visual appeal. Treated Timber Retaining Walls: Wood walls are a cost-effective option for smaller slopes. However, they require regular maintenance and have a shorter lifespan compared to other materials. Pro Tip: Consult with a licensed contractor to determine the most suitable retaining wall material and design for your specific slope and desired aesthetic. 3. Terracing Your Way to Functionality Terracing involves creating leveled platforms on your slope, forming a series of “steps” that provide usable space. This method is particularly well-suited for steeper slopes: Level Creation: Retaining walls or stacked stone walls are used to create leveled areas at different elevations on the slope. Functionality and Beauty: Each terrace can be designed for a specific purpose, like a patio for entertaining, a raised garden bed for vegetables, or a fire pit seating area. Connecting the Levels: Steps, ramps, or winding pathways can be incorporated to connect the different terraces, promoting easy access and movement throughout the space. Pro Tip: Terracing allows for creative water features like cascading waterfalls or koi ponds integrated with different levels, adding a touch of tranquility and visual interest. 4. Embrace the Slope: Creative Solutions for Gentle Inclines For less dramatic slopes, several creative solutions can maximize functionality and create a visually appealing landscape: Swale Gardens: These sunken garden beds follow the natural contours of the slope, adding visual interest and capturing rainwater for plant irrigation. Sloped Lawns: With proper drainage and grass selection, even moderate slopes can be transformed into green, walkable lawns. Mow across the slope, not up and down, to prevent erosion. Walking Paths and Stairs: Meandering pathways or strategically placed stairs can guide movement across the slope while adding a decorative touch. Consider using natural materials like flagstone or wood for a rustic feel. Pro Tip: Playgrounds with slides or climbing structures can be seamlessly integrated into gentle slopes, creating a fun and adventurous space for children. 5. Landscaping for Stability and Beauty Landscaping plays a crucial role in slope management by preventing erosion and enhancing aesthetics. Here are some landscaping tips for slopes: Planting Strategies: Opt for deep-rooted plants and ground covers that help hold soil in place. Choose drought-tolerant plants that require minimal watering, especially on sunny slopes. Mulch Magic: Apply a layer of organic mulch around your plants to retain moisture, suppress weeds, and prevent soil erosion. Gabion Walls: These baskets filled with stones or recycled materials can be used to create retaining walls with a natural and ecological aesthetic. Water Features with Caution: While water features can add a tranquil element, be cautious on slopes as they might contribute to erosion. Consult a professional to ensure proper drainage and construction. 6. Living with Your Slope: Maintenance Tips for Long-Term Success Transforming your slope into a functional and beautiful outdoor space is just the first step. Here are some essential maintenance tips to ensure its long-term stability and enjoyment: Regular Inspections: Visually inspect your retaining walls, drainage systems, and landscaping for any signs of damage or erosion, especially after heavy rains. Proactive Maintenance: Address minor cracks in retaining walls or drainage issues promptly to prevent more significant problems down the line. Seasonal Maintenance: Trim overgrown vegetation, clear debris from drainage channels, and replenish mulch as needed throughout the year. Professional Assistance: For complex slopes or major repairs, consult with a qualified contractor or landscape professional to ensure the safety and integrity of your slope solutions. Conclusion: From Obstacle to Oasis Slopes don’t have to be a liability – they can become stunning and functional outdoor spaces with a little creativity and planning. By understanding your specific slope characteristics, exploring retaining wall options, and implementing creative solutions like terracing or swale gardens, you can transform your challenging terrain into a valuable extension of your living area. Remember, proper drainage, landscaping strategies, and ongoing maintenance are crucial for the long-term success of your slope project. With the right approach, your once-unusable slope can become the star of your backyard, adding beauty, functionality, and endless possibilities for outdoor enjoyment. Ready to Conquer Your Slope? If you’re looking to transform your sloping landscape into a usable and beautiful outdoor